Creating or Adapting the contents of a Star Group
A Star Group is an ensemble of a variable, its AAVSO comparaison stars plus a series of other variables that are in the same star field.
The variables and the comparaison stars are downloaded from the AAVSO database via the name of a variable, or via its coordinates. All stars within a certain radius are downloaded.
If there are no AAVSO comparaison stars available for the Star Group, one can add neighborhood-stars from the UCAC4 catalog (vizier catalog "I/322A/out"), or from the Gaia catalog (vizier catalog "I/350/gaiaedr3").
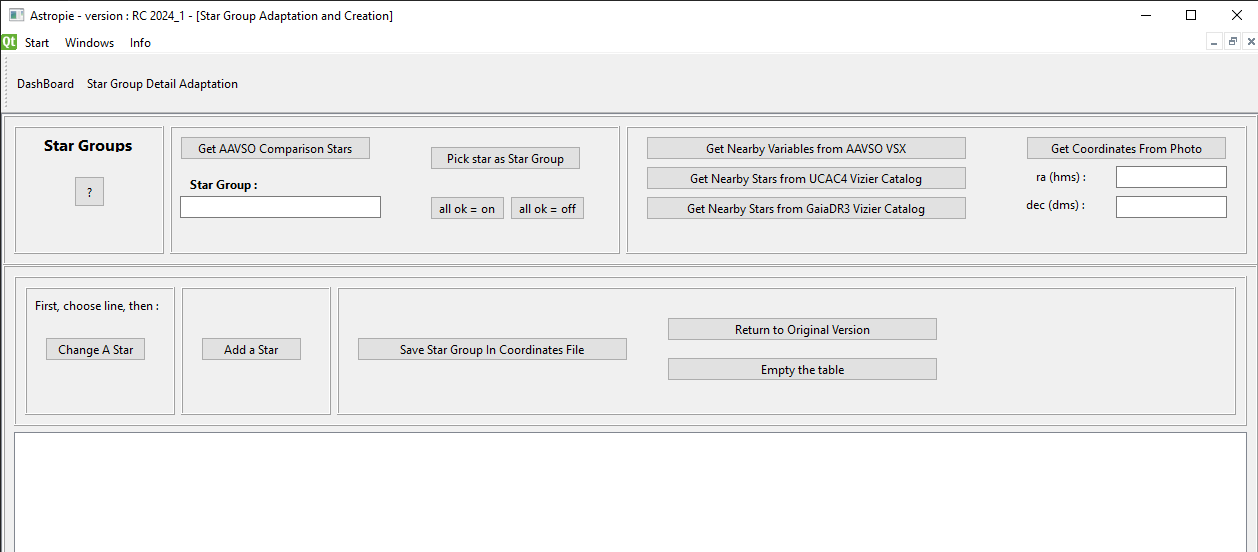
At first sight the screen looks a bit complicated, but in most of the cases only a small number of buttons are to be used.
About a Star Group
Before photometry on a photo or a series of photo's can be done, a Star Group must be selected.
Selecting a Star Group is done via its name on the "Choose Star Group" screen.
Also, it is possible to have Star Groups on the same coordinates, but with a (slightly) different name.
For example, one SS Cyg Star Group for when the star is faint, and one SS Cyg_outburst Star Group for when the star is in outburst.
How to create a new Star Group - for a known variable at AAVSO
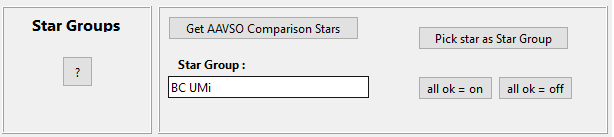
If the star is known at AAVSO and has defined comparaison stars, enter the name of the star in the star group and push the button " Get AAVSO comparaison stars".
Check if the star exists (maybe with another name) on the website of AAVSO : https://www.aavso.org/vsx/index.php?view=search.top
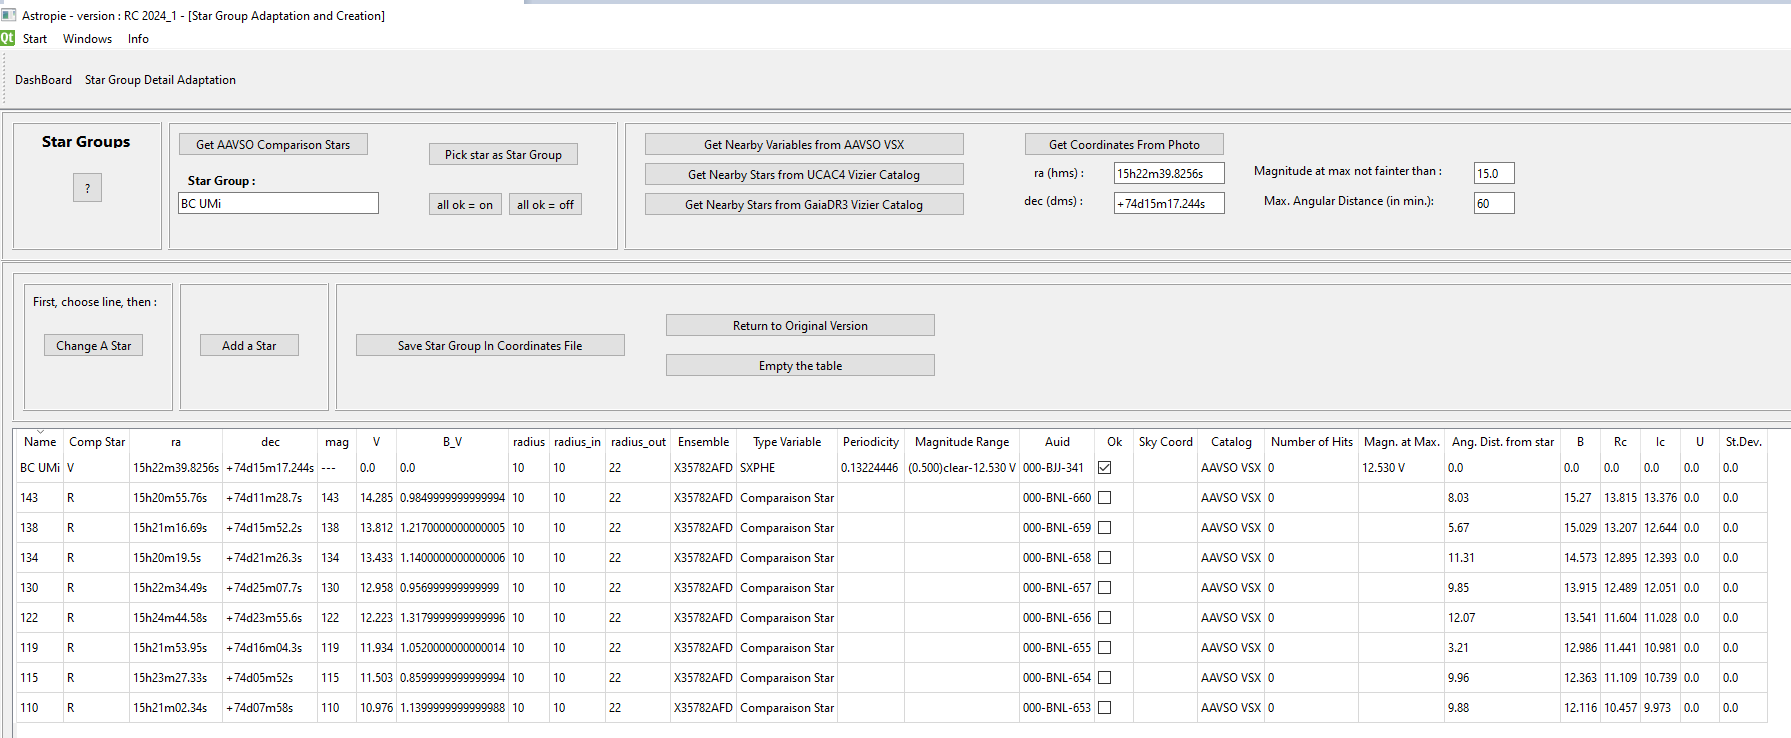
After waiting some (long) seconds, you get this response :
Do not to forget to save the Star Group before leaving the screen
A word about the "ok" column :
When checked, the curve of the magnitudes of the star will be presented on the photometry screen. Of course that field is (un)checkable on the photometry screen to.
The button "all ok = on" selects all stars for the star group.
The button "all ok = off" unselects all stars of the star group, except the star that has the same name as the star group.
When the Star Group is saved, a check is done that at least one star has the ok column = "on", because otherwise the Photometry screen would not show a lightcurve at all.
Save a Star Group, and two other buttons
1. button : Return to original version
If you messed up your star group, this button refreshes your screen with the last saved version
2. button : Empty the table
If you want to start all over again, empty the table
3. button : Save Star Group in Coordinates file
If all is ok, save the star group so that it becomes avaible in the "Choose Star Group" screen

Using Coordinates instead of Star Name
Sometimes you do not have the complete name of the star, or you want to work via the coordinates and find the stars around them.
Enter them in hms / dms form, or separated with ":" ra : 10h20m30.12s or 10:20:30.12, declination : +39d20m10s.11 or +39:20:10.11
Or, even easier, choose an existing photo of the starfield via the "Get Coordinates From Photo" button. If the photo can be solved (via astap) the center coordinates of the photo will be put on the screen.

A typical order of working could be :
1. "Get Nearby Variables from AAVSO VSX" :
will give all variables according to the two fields "magnitude at max not fainter than" and Max. Angular distance (in min.)
2. "Pick star as Star Group" :
Click on the line of the star that you want to use as main star in the Star Group.
The field "Star Group" will be filled, and the angular distance of the stars in the Star Group to that star will be recalculated.
This is rather important, as it is the name that will be used to identify the star group in the "Choose Star Group" screen before doing the photometry.
3. "Get AAVSO Comparison Stars" :
This routine interrogates the AAVO VSX database to get the comparaison stars in the region of the star group
4. Sometimes no AAVSO Comparison stars are availble :
Try the button "Get Nearby Stars from UCAC4 Vizier Catalog" (uses the coordinates, not the name of the star group)
or :
Try the button "Get Nearby Stars from the GAIADR3 Vizier Catalog" (uses the coordinates, not the name of the star group)
Change a Star, Add a Star
Changes can be typed directly in the table, if the star exists already, or you can click on a line and then use the button "Change a Star".
A dialog box with all the details will be shown. Do NOT forget to SAVE your changes when using this dialog box !

If you want to add a specific star to the star group, then that can be done also via the button "Add a Star"
Delete a Star from the Star Group
Pick a line, push the button "Change a Star", and use the "Delete" button on that dialog box.
Finetuning Position of a Star
Sometimes the proper motion of a star is so huge that the coordinates are not accurate any more.
A special screen has been developer for correcting the position with some mouse clicks : Wandering Star
Screen is accessible via the DashBoard.